


DIY Decorative Wall Letters - Cheap and Easy!
- Hailey

- Jun 28, 2020
- 1 min read
These DIY decorative wall letters look a lot higher end than they are. In fact, they're incredibly cheap and easy to make! Let's get started.

Things you'll need:
-Scrapbook paper or cardstock
-Elmers glue
-Paint
-Paintbrush

Step 1.
Paint the edges of your letter with coordinating paint. You can also paint the back if you're fancy. Once you've finished, rinse your paintbrush off.

Step 2.
Spread a thin layer of glue on the topside of your letter. Make sure you don't go too thick or your paper could slide around and crease.

Step 3.
Press the glue side of your letter onto the backside of your scrapbook paper. Make sure you smooth out any creases or bubbles before the glue dries.
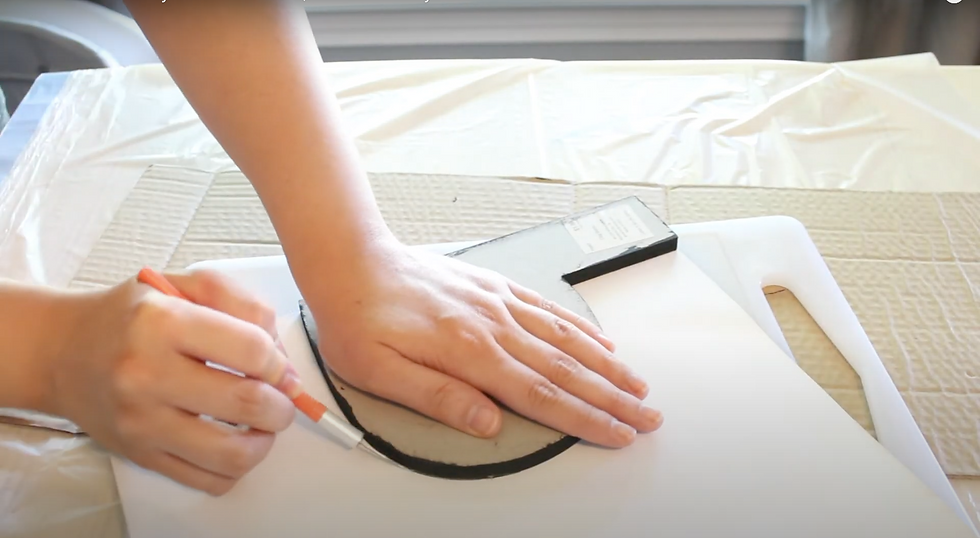
Step 4.
Once the glue has dried, use a box cutter or Xacto knife to trim around your letters. Make sure your blade is sharp or your paper could tear, creating uneven edges.

Step 5.
Attach small sawtooth brackets onto the back of each letter. These are really lightweight so you can use pretty small brackets. And done!
If you try these out, I'd love to see how you decorate them! Share your photos with me on Instagram, @hailsbellsblog.
Thanks for reading, and happy crafting!
Hailey


Comments